A battery-powered monitor for dumb gas and electricity meters
Home Assistant’s energy dashboard is lovely, but it can’t do much without data, and our meters are firmly old school.
Luckily both meters have some automation potential. The electricity meter has an LED that winks once for every watt-hour you use. The gas meter has a magnet in its last dial, which a reed switch can pick up as it goes round. So all I need is something that counts.
The catch is that there’s no power socket anywhere near either meter. If you do have one, there are good projects that already do this, like Home Assistant Glow. I needed something that could live on a battery for months.
The trick: let the ULP do the counting
An ESP32 on Wi-Fi draws well over a hundred milliamps, which would see off a small battery in a day. In deep sleep, with everything switched off, it gets down to microamps. The snag is that you can’t count pulses while you’re asleep.
Except that, with a bit of cunning, you can. The ESP32 has an ultra-low-power (ULP) coprocessor: a tiny core that stays awake during deep sleep and can read a few of the pins. Think of it as a night watchman. Espressif ship an example that does almost exactly what I wanted, and I started from that.
The ULP wakes every 20 ms, looks at the sensor pin, and counts edges. Once it has seen enough, it prods the main CPU awake, which:
- adds the new pulses to a running total kept in flash (NVS), so it survives resets and battery swaps;
- joins Wi-Fi and publishes the total and the battery voltage over MQTT;
- goes straight back to bed.
The fiddly part is the debouncing. A new level only counts once the ULP has seen it on four samples in a row, so a pulse has to last at least 60–80 ms to count. That’s fine for the meter’s LED, and it ignores the odd stray flicker. You can watch it at work below. Try making the pulse too short, or throw in a glitch:
How often to wake is a trade-off. The code wakes after 10 pulses by default: 10 Wh of electricity, or a small amount of gas. Waking less often saves battery, but your graphs get blockier:
The other big saving is a static IP. Asking the router for an address over DHCP takes a surprisingly large slice of each wake-up. With a fixed address, the ESP32 can get in, say its piece and get back to sleep much sooner.
Hardware
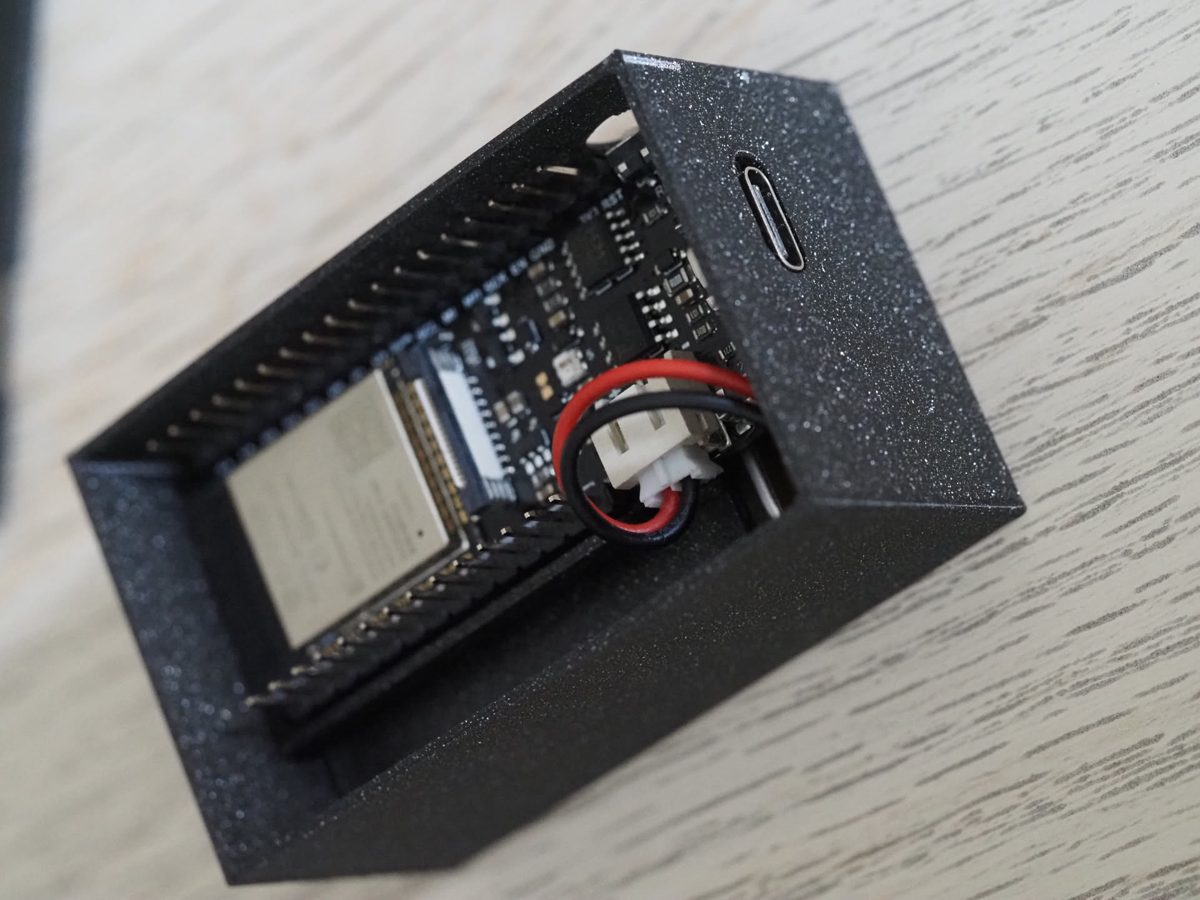
I used a DFRobot FireBeetle ESP32-E. It’s designed for low power and has a LiPo charger built in. There’s a “low power” trace on the board that you cut with a knife to save power, which is about as satisfying as electronics gets. With that done I measured about 14 µA in deep sleep.
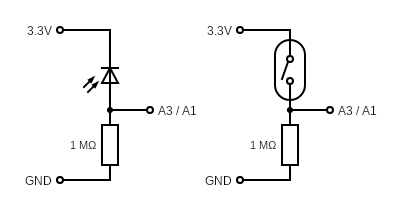
The sensors are about as simple as circuits get. It’s a photodiode (or the reed switch) between 3.3 V and the input pin, plus a 1 MΩ resistor to ground. Each one fits on a 3×3-hole scrap of veroboard.
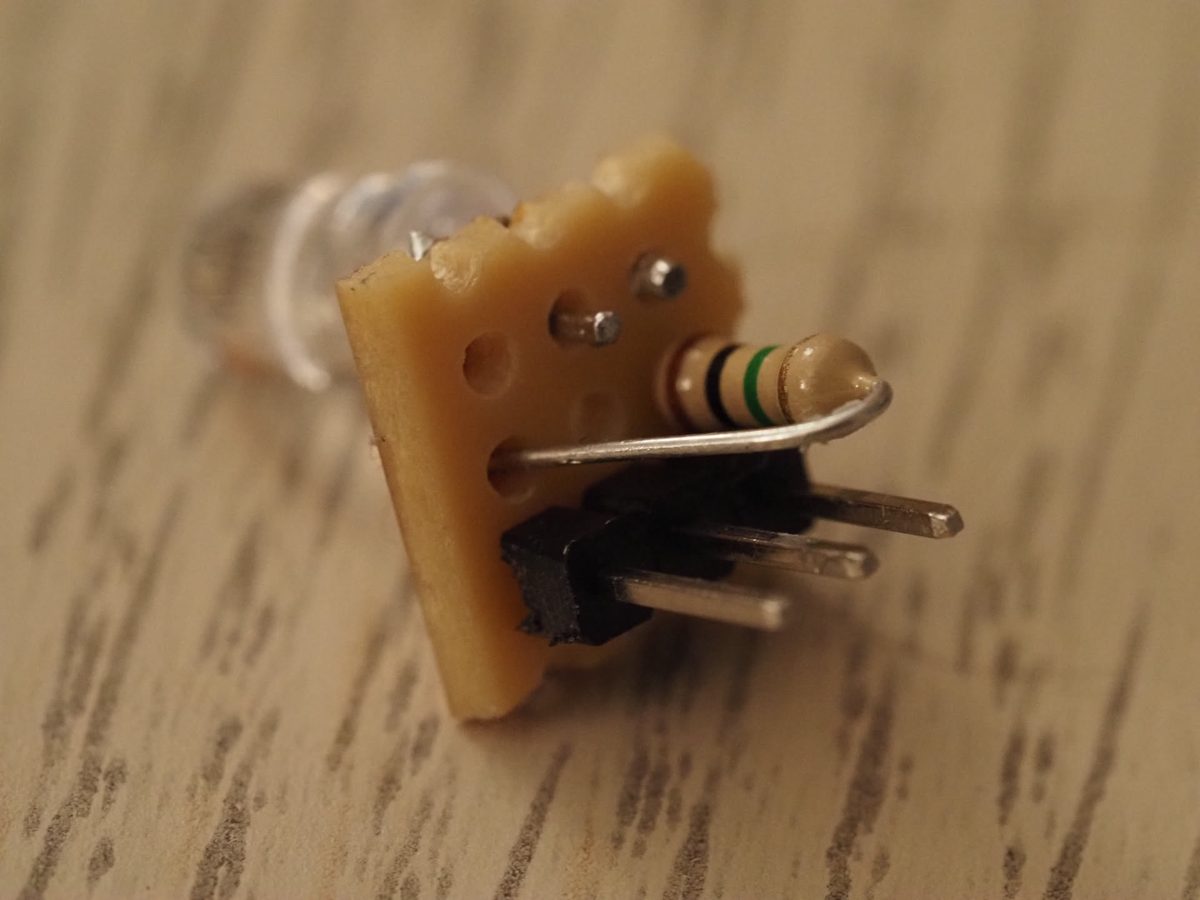
There’s also a two-sensor version for two-rate meters, such as Economy 7, which uses a second input and publishes both totals. Our electricity meter is Economy 7, with two LEDs, so that’s the one I built, assuming the second LED would take over at night. Weirdly, it never flashes. The first LED does all the work, day and night, so as far as I can tell the meter itself has a bug. My second sensor is keeping a very close eye on an LED that never does anything!
I designed a 3D-printed case to hold the board and battery, with lids for one or two sensors and little housings for the sensor boards.
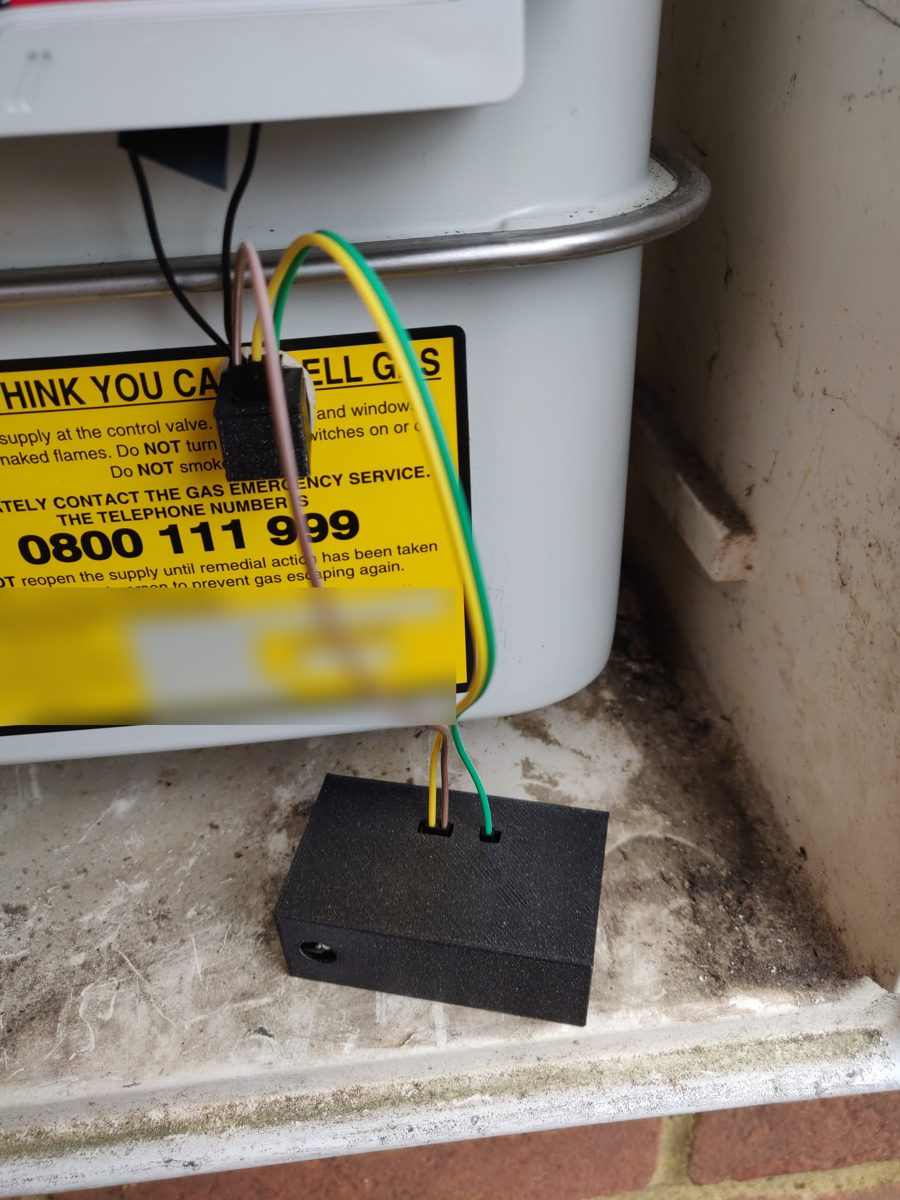
 A tip for the gas meter: put a multimeter in continuity mode across the reed switch while the dial turns. It’s by far the easiest way to find the sweet spot where the magnet actually triggers it.
Battery life
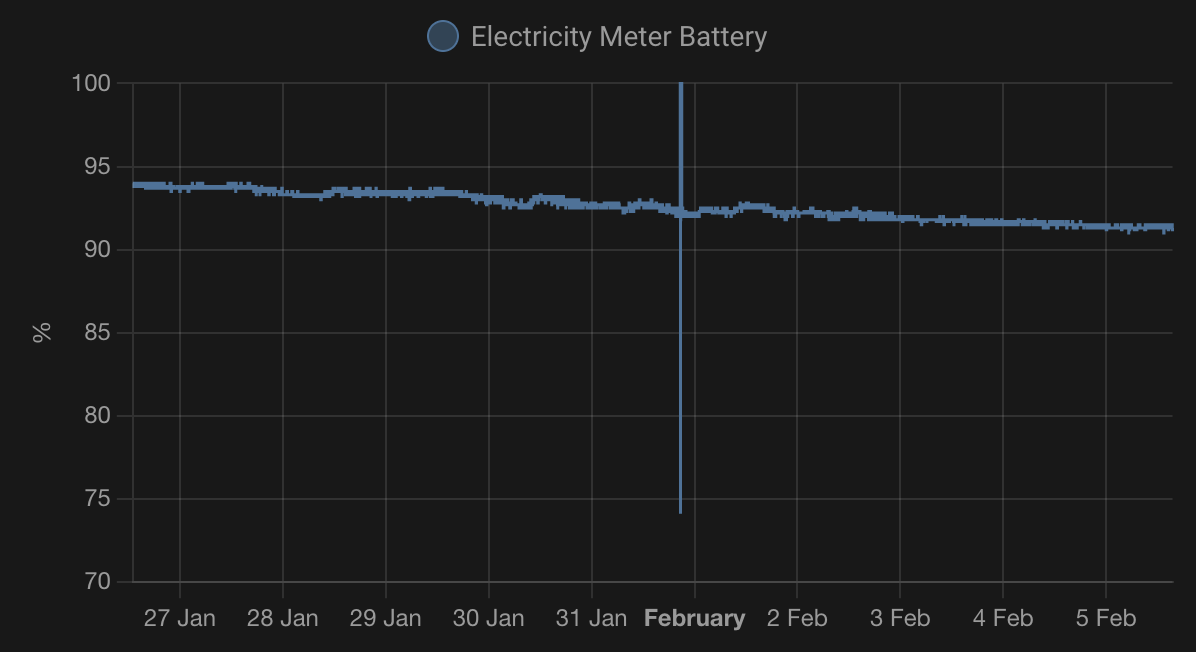
The battery is an 1,100 mAh LiPo. Below 3 V the firmware reports 0% and puts itself to sleep for good, to protect the battery. After ten days it had dropped about 3%, which works out at roughly a year between charges. Recharging just means plugging a USB power bank into the board for a while.
Result
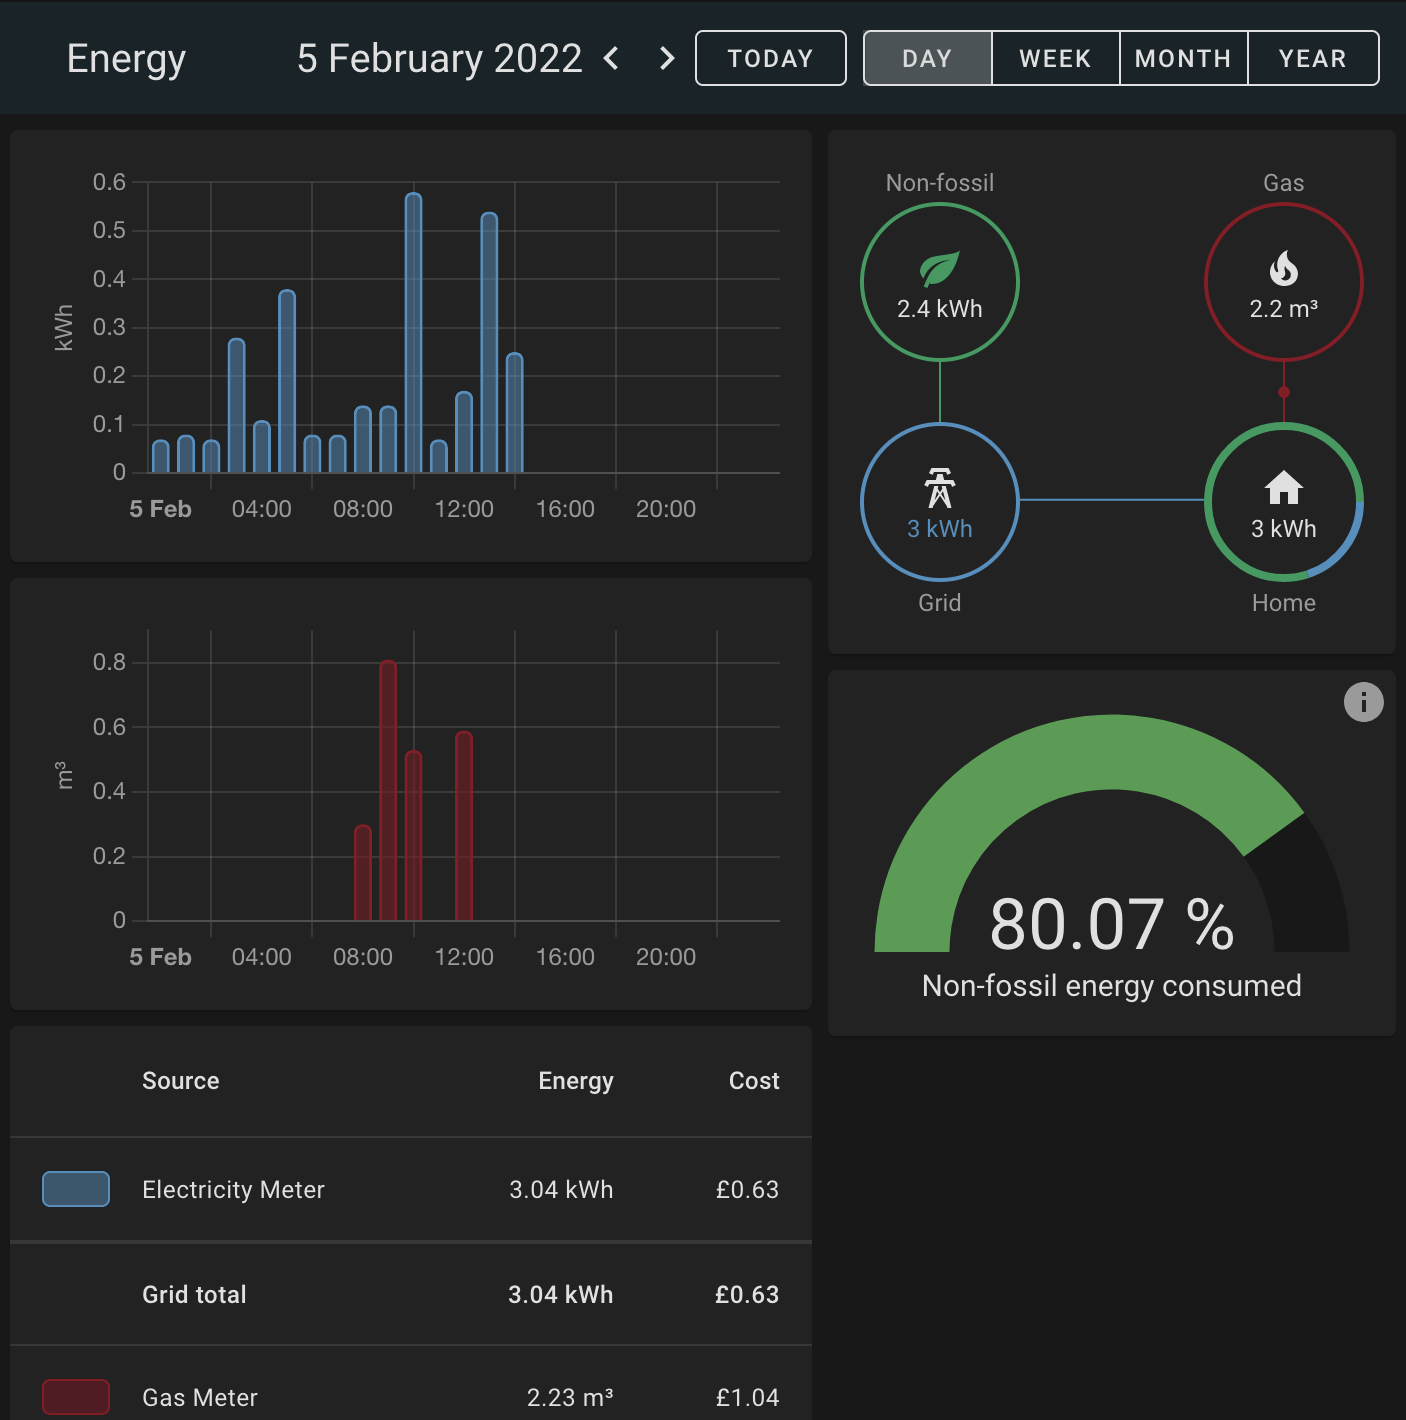
Both meters now feed Home Assistant’s energy dashboard, which works out the costs as well. For gas, you convert the price per kWh into a price per m³ using the conversion factor on your bill.
One bodge survives. The firmware waits a few milliseconds between publishing and disconnecting, because without it the last MQTT message sometimes doesn’t make it out the door. It’s honestly labelled in the code as a “hacky delay”, and it works, so it stays.
The code, the case files and a full build guide are on GitHub as metermon.